How to deploy a WSP to SharePoint Farm Solution library
This need to be done on the Server which host the SharePoint Central Administration.
- Add the WSP to the SharePoint Server
- The first thing you need to do is copy over the wsp deployment file. The best things to do is to create a deployment folder, where all the deployed files are kept.
- Copy over the deployment files to: c:\Deploy\WSP
- Add the WSP to the SharePoint Farm Solution library
Open “SharePoint 2013 Management Shell “ as administrator
a. Open the Search on Server 2012
b. Search for “SharePoint 2013 Management Shell”
c. Right click “SharePoint 2013 Management Shell”
d. Select “Run as Administrator”
- Run this script:
Add-SPSolution "c:\Deploy\WSP\{file name}.wsp"
- Deploy the WSP to the SharePoint Farm Solution library
- Open Central Administration
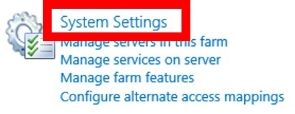
- Click “System Settings”
- Click “Manage farm solutions”, under “Farm Management”
- Click on the {file name}.wsp package
- Click “Deploy Solution”

- Deployment settings
Deploy When: Now
Deploy to: All content Web application
- Click “OK”
How to activate the WSP Feature on the Site Collection
Activate the WSP Feature on the Site Collection
Open the Root Site (the Site Collection)
Click the cog, in the top right corner (Site Actions)
Select “Site Settings”
Click “Site collection features”, under “Site Collection Administrator”
Go to {file name}
Click “Activate”, to the right


